AT LEFT - On the ceiling of the first floor I wanted to give it a textured finish. I had done this on the kitchen ceiling some 15 years ago and recalled that it was not fun but the results were very good. The material was applied with a special looped string roller. I bought the same roller and materials for this project... In short this part of the job was A DOG! The adhesion of the material to the primed wall board was very poor. The roll-out characteristics of the material changed from minute to minute... I wound up having to touch up areas over and over again.... It killed my back and arms! In the end, I got something that looks pretty good.... Folks have told me that there is a newer technique where texturing material is blown onto the ceiling... But I did not know about this at the time....
This photo also shows that I have mounted the electric base board heaters and the light fixtures. It's starting to look like a real room!
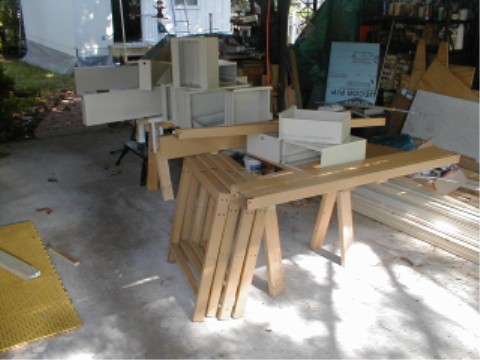
AT LEFT - I salvaged workbench parts from work. Hours were spent in cleaning them up. The beige and mustard color of the benches are no good for my shop! Here I am preparing to paint everything a light gray.... The weather turned out to be perfect for the task.
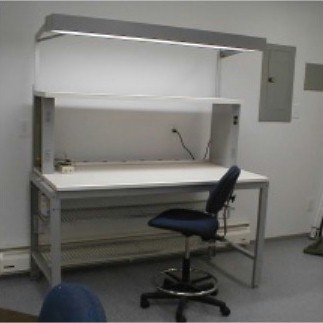
AT RIGHT - I have three workbench modules two of which I connected together as shown here. The risers for the top shelf have two duplex power sockets plus there is a power strip along the back of the bench. I need to make a better picture to show the wire shelf underneath and the two tool drawers.
The benches look almost new after the paint job.
AT LEFT - Here is the other workbench module. Just like the other but I added a second wire shelf underneath.
I plan to mount my Atlas 6" lathe on this bench top along with a five or six inch vise.
I'm thinking of having the lathe actually mount on a movable base plate on the bench surface so that it can be pushed back enough to give alternate use to the bench if necessary. I still have to think about this a little.
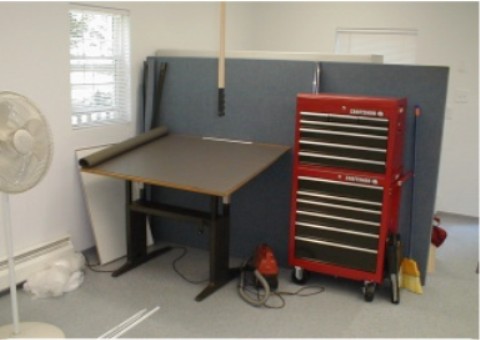
AT RIGHT - I have built a tilting layout table using parts salvaged from a strange looking two-level computer workstand. The only thing to do now is to paint it the same light gray color as everything else.
I've always wanted a full stack of Craftsman Ball Bearing Slide mechanics tool boxes so that was already in the budget for the shop...
I salvaged these blue office divider panels that will be mounted just about where they are now. That will help to control reverb in the room.
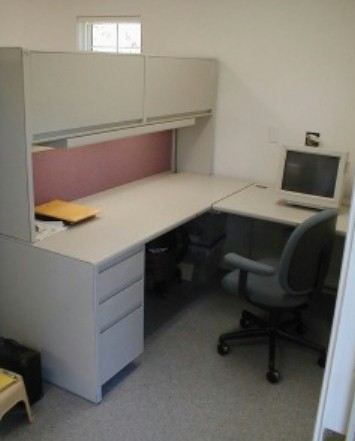
AT LEFT - This is a workstation that I was also able to salvage. I was able to get a perfect paint match. And with a little metal putty and a few hours work I have another furnishing that looks brand new.
The five leg office chair looked disgusting but cleanup brought it back to almost new looking. The back of the chair is a black plastic that had several scuffed areas that did not look good. I found that application of a heat gun to these areas would make the scuff marks almost dissapear. The technique works just as good on the internal door panels in the van...
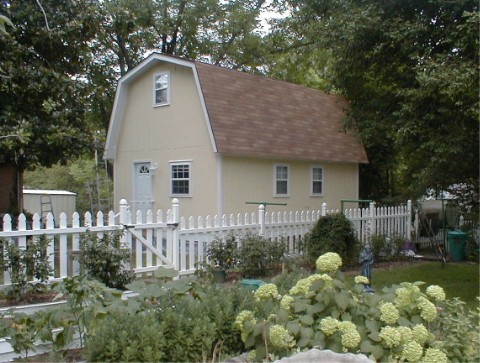
The Shop Construction Is Complete!
On June 30th, 2001 I am ready to declair that the construction phase is complete! Just about 18 months have passed since digging the holes for the support piers.
I have plans to have a canvas awning installed over the door. I'm thinking one of these 1/2 dome style awnings in a medium green would look good... I hope they are not a budget buster....
I finished the siding with a "golden cream" color to contrast with the white trim... This view is from my neighbors yard.... Wally and Muriel say that it makes a great backdrop to their garden area.... I think it makes a nice addition to the neighborhood.
It has been a project that I have wanted to do for a decade... But it was really HARD WORK to do this project nearly single handed. I hope I never have to do it again.
However the shop is not up and running by any means... I will report on how I outfit the shop for my radio conservation and documentation activities as time goes by... STAY TUNED!