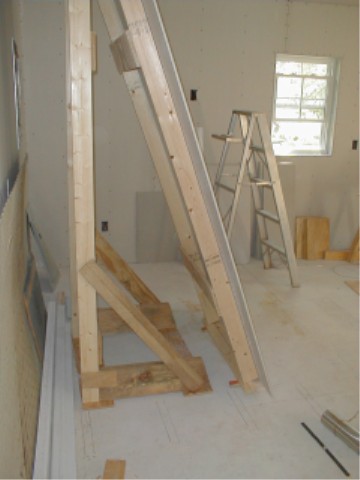
AT LEFT - I did not want to go out and rent a wall board lift because I did not know how long it would take me to do the job. I opted instead to make my own crude lift from 2x4's and scrap plywood. In another picture you will see the hinges and the prop stick used to hold the panel up. It worked just fine.
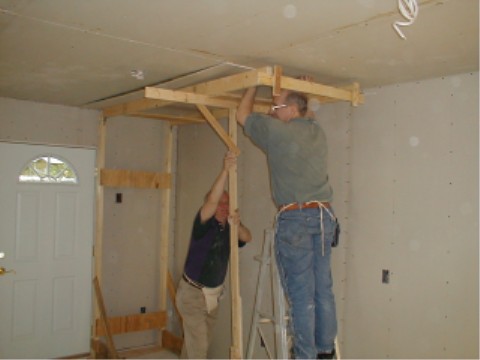
BELOW - Ernie Hite and Ron Lawrence showed up to help and it was very much appreciated! Below Ernie and I are lifting the last of the 12 ceiling sheets into position. We applied wall board adhesive to all these panels.... A MUST FOR HANGING SHEETS!
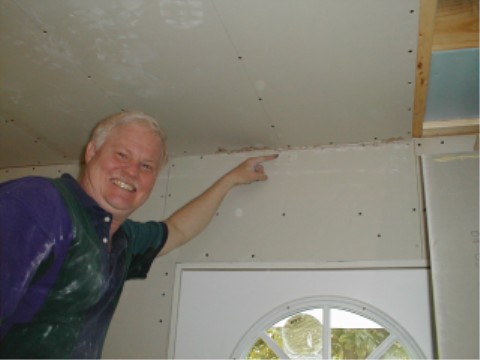
AT RIGHT - On one of the sheets, I had not trimmed the panel correctly. Too long... We had already applied the adhesive and were pushing it up into place but it jammed... Rather than pull down the panel and smear a lot of adhesive, I started using a Roto-Zip bit to shave off the panel edge. Ernie was having great fun pointing out where "Lozier screwed up!" But thanks to sheet rock 'mud' and tape there is no trace of the Boo-Boo left!
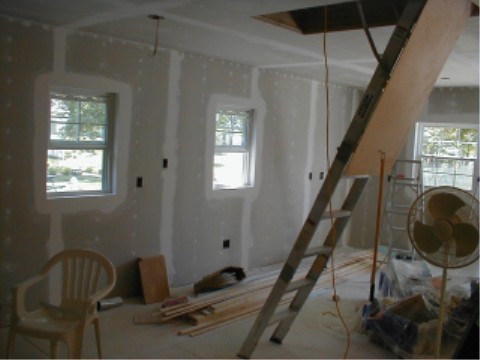
AT LEFT - Boy! Taping and filling dry wall screw holes is a real pain! At least I was able to use the self-adhesive fiberglass web tape... The trick is to not apply excess mud or you will kill yourself during sanding. After the first layer of mud sets, you have to add another layer because it shrinks on drying. There will even be areas where a third coat will be necessary.
I decided not to use wood molding around the window openings.... The windows are lined with wall board. Plastic corner strips are embeded in the mud to protect the finished edges....
AT RIGHT - I mentioned previously that on the ceiling of the attic I was not going to be able to have a good vapor barrier because I needed to glue these panels in place. I found out that there is a coating called PVA wall board sealer just for this job. Here I am rolling it on in a very heavy coat... To cover the 42 4-8 ft. sheets required 7 to 8 gallons of the stuff.